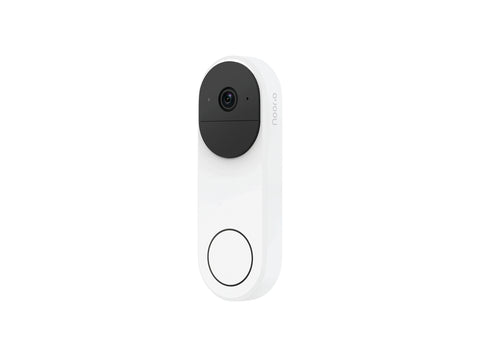
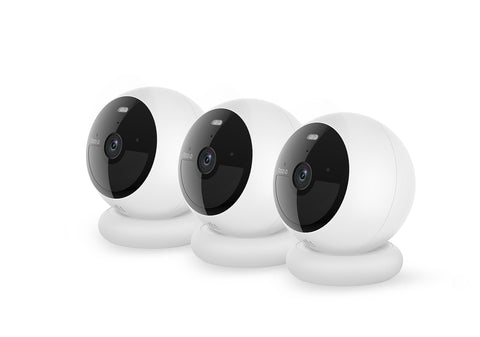
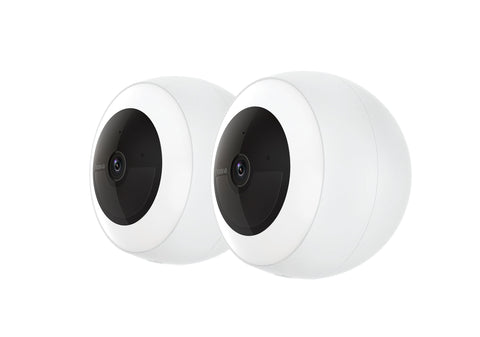
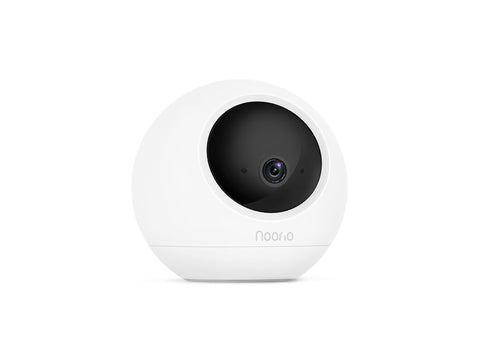
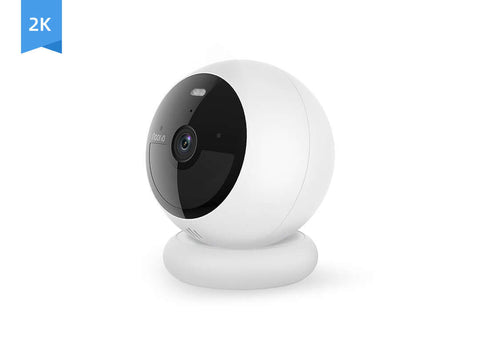
The operating temperature of the Noorio security cameras is -4℉ to 122℉ (-20℃ to 50℃). In a cold environment, the battery activity will be reduced and shorten the battery life. However, the battery performance will be back to normal when the device gets warmer.
Five Installation Methods for Noorio Wireless Security Camera
Noorio wireless security camera with magnetic bracket can be mounted in the following methods.
|
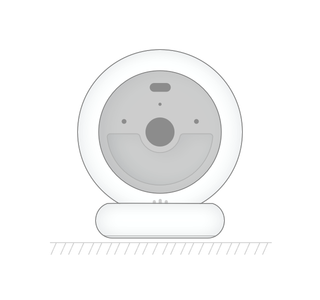
Desk
|
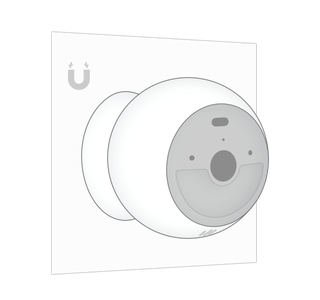
Magnetic
|
|
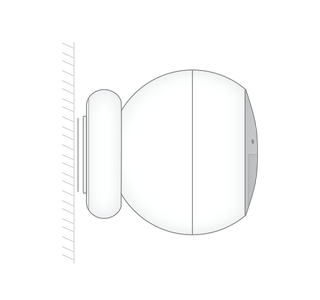
Sticker (If available)
|
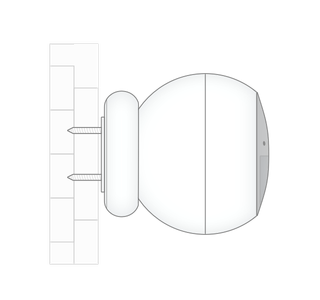
Screw Mounting
|
Preparation before Install Noorio Wireless Security Camera
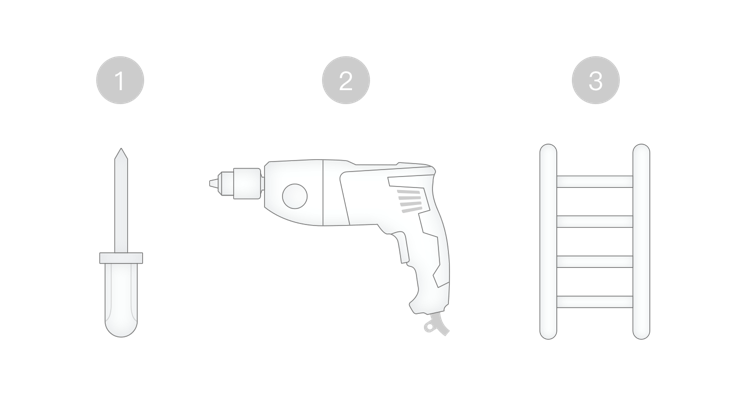
Before you mount, you may need a screwdriver, a drill with a 15/65 inch (5.95 mm) drill bit, and a ladder.
Tips for Installing Wireless Security Cameras
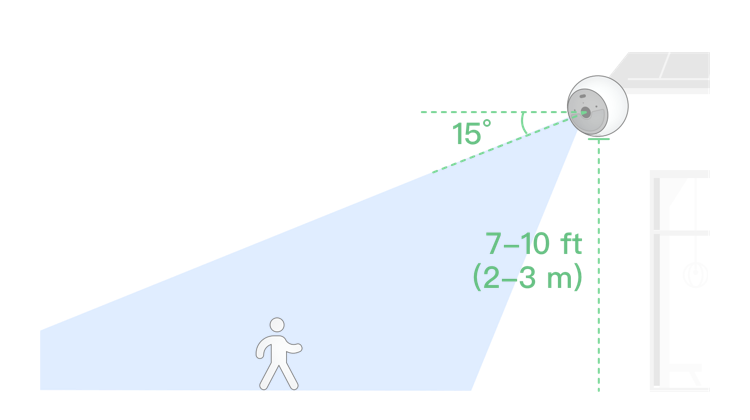
1. If you install the security camera outdoors, it is recommended to install it 7-10 ft (2-3 m) and adjust the angle to about 15° to get the best field of view.
2. If you install the security camera with a 3M Sticker, it is recommended to follow the requirements below to prevent the wireless security camera from falling off, as the 3M sticker is sensitive to the environment and installation techniques.
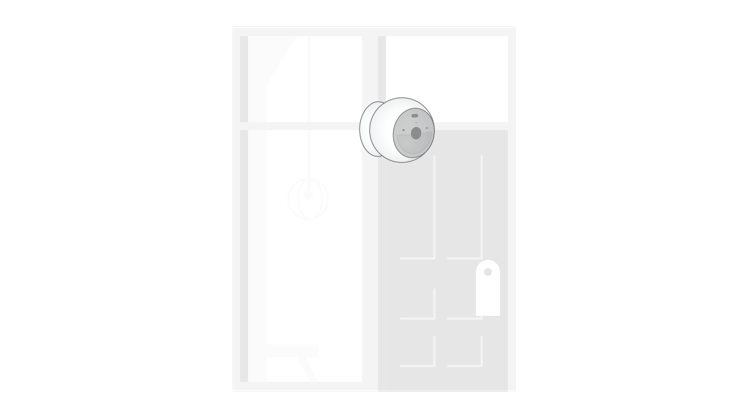
(a) Only installed on indoor glass or tiles.
(b) The ideal temperature for the 3M sticker is 59-100.4℉ (15-38℃). Do not install it with too low or too high a temperature.
(c) Please clean the installation surface before installation. Make sure the surface is free of oil and dust.
(d) When sticking the bracket to the installation surface, please press the bracket firmly for at least 30 seconds. Leave it for over 24 hours before attaching the camera to it.
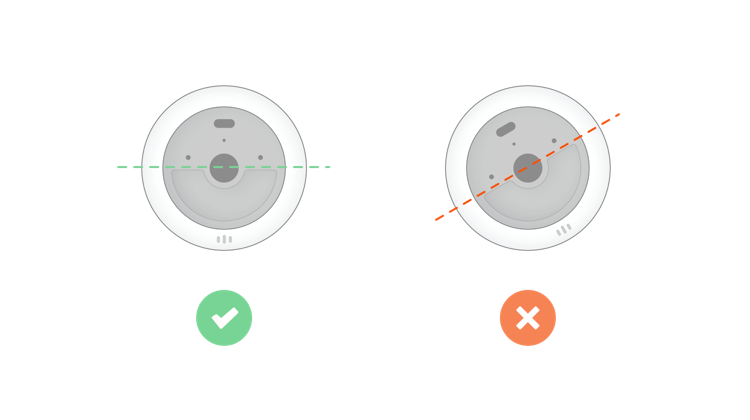
3. Straighten the security camera to get the best performance.
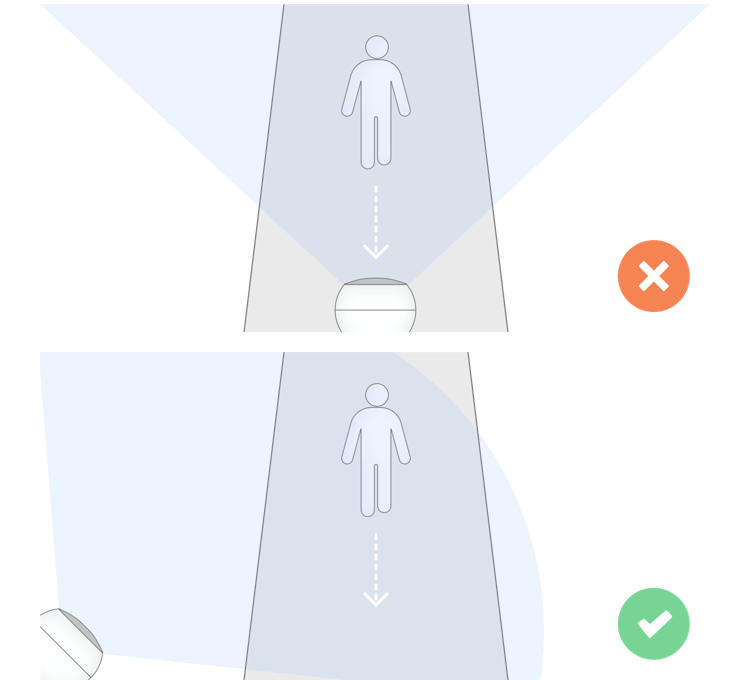
4. The Noorio wireless security camera is not sensitive to the object toward the camera. Install it in the corner so the movement can go across the detection zones and trigger the motion detection.
5. Find a Good Location:Take your wireless security camera to the place you want to mount it. Make sure it has a good Wi-Fi connection and streams without lag.
Installation Method 1: Desk
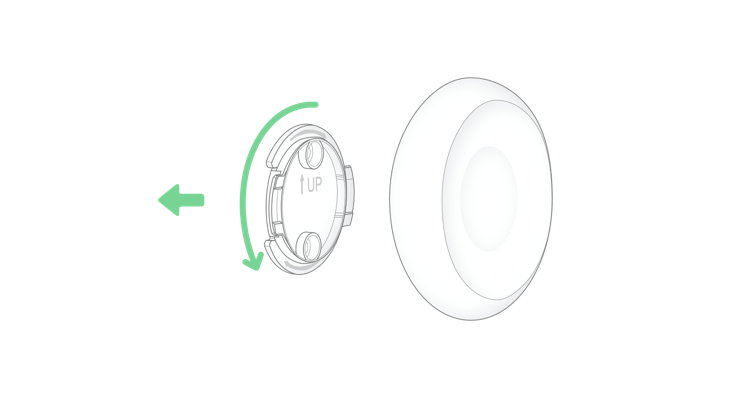
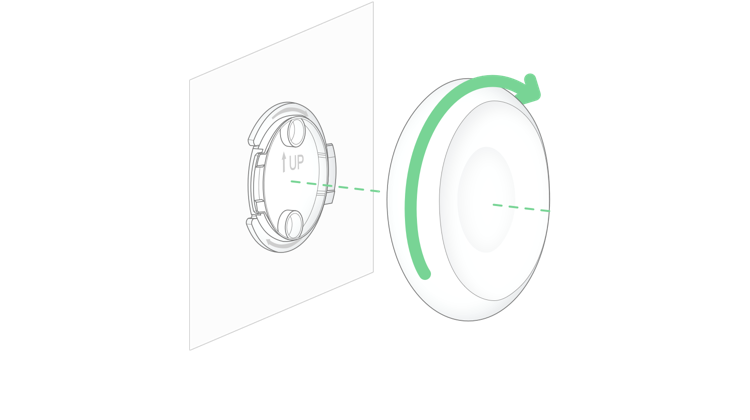
1.Turn the magnetic bracket clockwise to disassemble it.
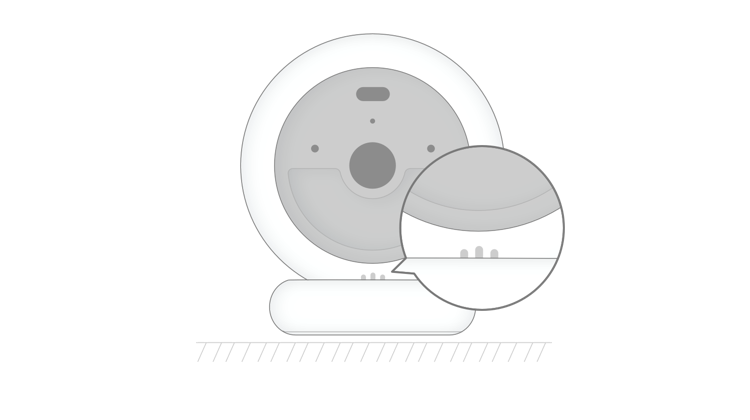
2. Place the magnetic bracket on a desk, then put the wireless security camera on it.
Installation Method 2: Magnetic
1. Turn the magnetic bracket clockwise to disassemble it.
2. Attach the magnetic bracket to any iron surface and place the Noorio security camera on the magnetic bracket.
Installation Method 3: Sticker
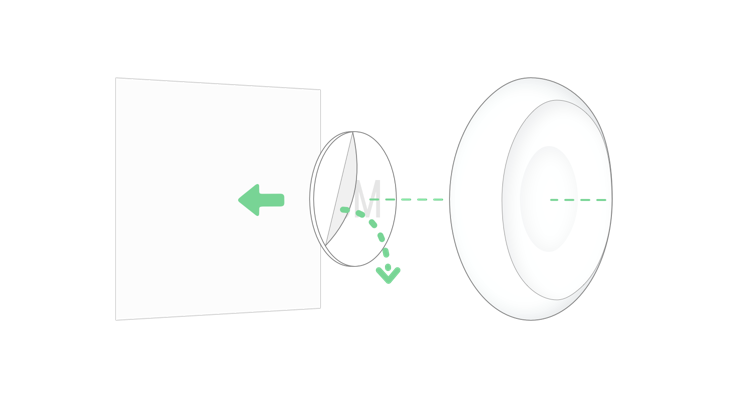
1. Tear off one side of the protection film on the 3M sticker and stick it to the base of the magnetic bracket.
2. Tear off another cover of the 3M sticker and set the bracket to flat surfaces. Press the bracket firmly at least 30s. Then attach to Noorio security camera to the bracket.
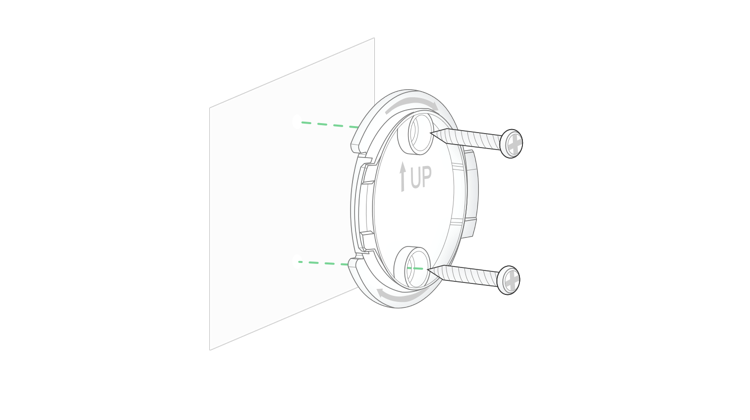
Installation Method 4: Screw Mounting
1. Turn the magnetic bracket clockwise to disassemble it.
2. Install on wooden, plastic, and other soft materials: Srew the base of the bracket onto the wall directly.
Install on concrete, brick, and other hard materials:
(a) Stick the positioning card onto the wall.
(b) Then drill holes with a 15/65-inch (5.95mm) drill bit.
(c) Insert anchors into the holes and finally screw the base of the bracket onto the wall.
3 Fasten the bracket to its base.
4. Attach the Noorio wireless security camera to the magnetic bracket.
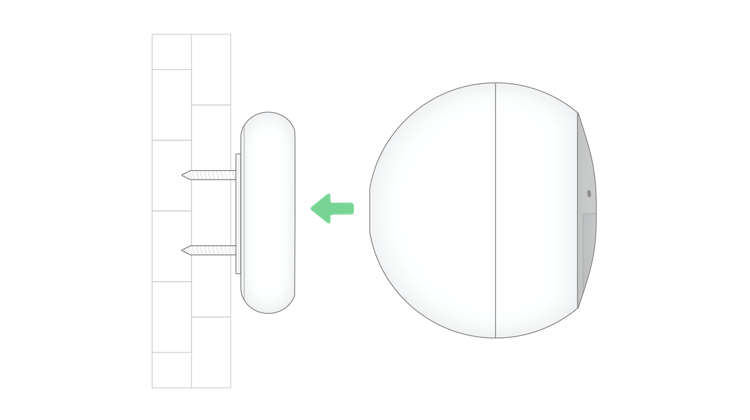
Install Noorio Security Camera with Mounting Bracket
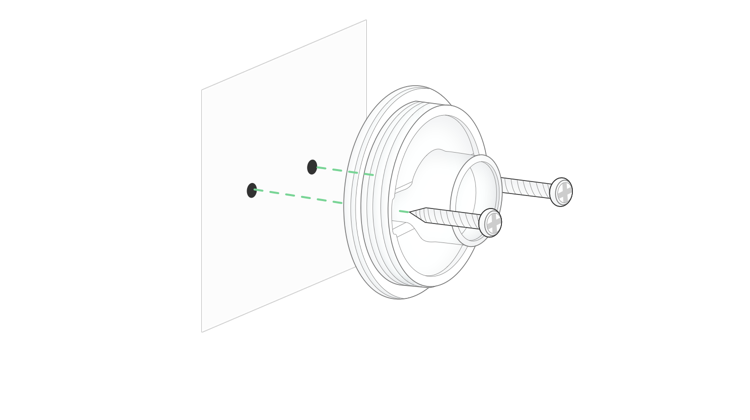
1. Turn the knob of the mounting bracket clockwise to disassemble it.
2. Install on wooden, plastic, and other soft materials: Srew the base of the bracket onto the wall directly.
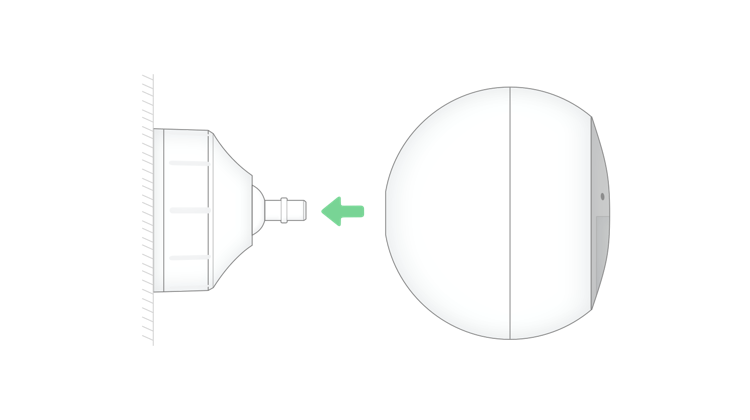
Install on concrete, brick, and other hard materials: Stick the positioning card onto the wall. Then drill holes with a 15/65-inch (5.95mm) drill bit. Insert anchors into the holes and finally screw the base of the bracket onto the wall.
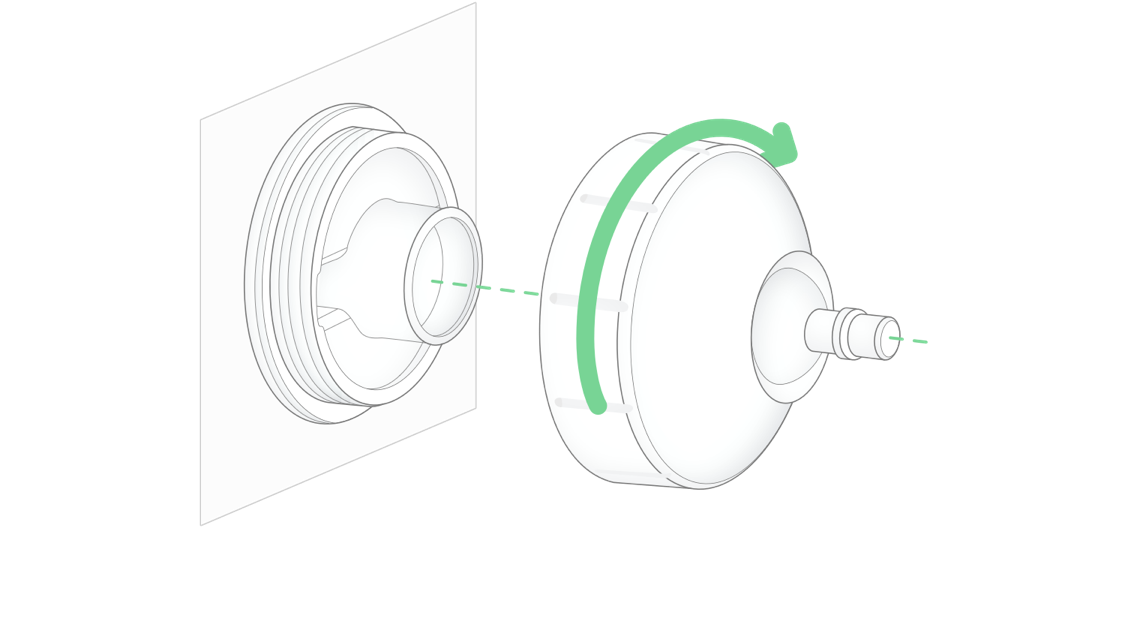
3. Fasten the ball knob of the bracket to its base.
4. Tighten the Noorio wireless security camera to the mounting bracket.
