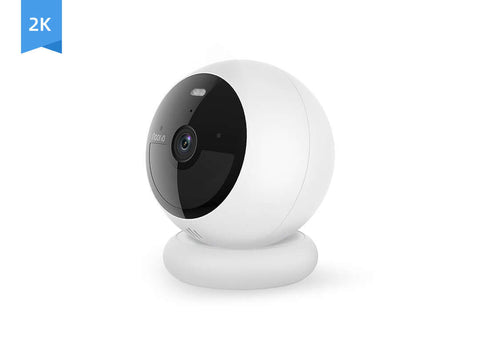
With the development of battery-operated home security cameras, installing the wireless security camera is no longer challenging for house owners to install by themself. In this article, we'll provide insight into the simplest way to set up and install your Noorio B200 indoor and outdoor home security camera.

Steps for set up your wireless home security camera
Step 1:Add your security camera in Noorio APP
Make sure you've downloaded the noorio app. If you haven't, you could get our noorio app here (IOS, Android). Tap the "set up a device" button and scan the QR code on the back of your Noorio B200 wireless security camera, or you could enter the mac address manually to add your device. And then name your security camera.
Step 2: Connect security camera with Wi-Fi
Select the linked Wi-Fi (the B200 wireless home security camera only supports a 2.4G network), and enter the Wi-Fi password.
If you connect with a 5G Hz Wi-Fi, you could try to reselect a 2.4G Hz network.
Step 3: Long press the sync button of security camera
Press and hold the sync button on the back side of the device for over 2 seconds, and you will hear "Welcome to Noorio, please set up your Device in Noorio App".
If you need to reset the device, you could follow the same step. Long-press the sync button, and the device will broadcast "Device reset successfully, please set it up in Noorio App." Then the light will flash blue.
Step 4: Join a temporary Wi-Fi network to connect
Join the device temporary Wi-Fi to start the connection.
For IOS: App will pop up a window: 'Noorio' wants to Join WLAN Network' Noorio_xxxx,' click join to connect.
For Android: The APP begins to look for the device's Wi-Fi. After finding it, the APP will prompt: 'Noorio app wants to use a temporary Wi-Fi network to connect to your devices Noorio_xxxx', click connect to start the connection.
Having problems?
If you do not find Noorio_xxxx, which needs to be confirmed on the mobile phone Wi-Fi page or the APP pop-up window, whether this number matches the last four digits of the MAC address of the back shell of the device.
Step 5: Install the device
The Noorio B200 wireless security camera will broadcast as follows:
Connecting to the network
Connected to the network successfully
Connected to WiFi successfully
The device added successfully
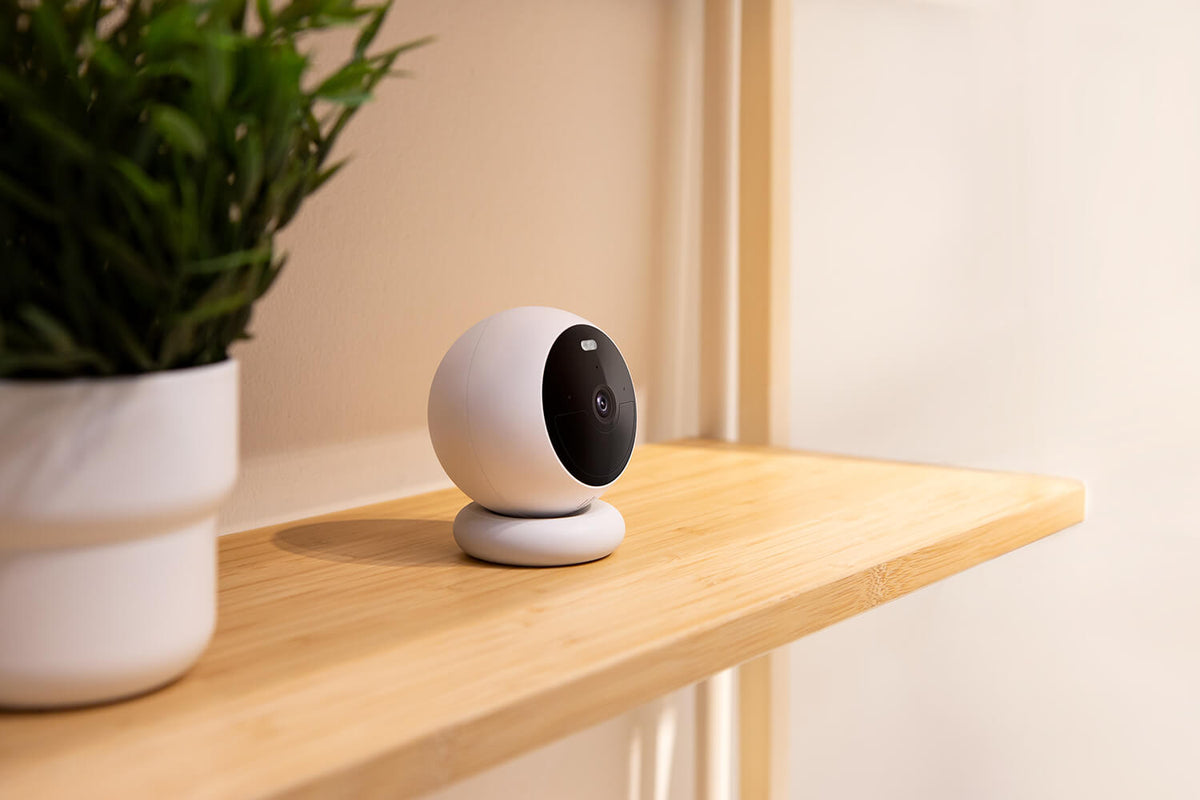
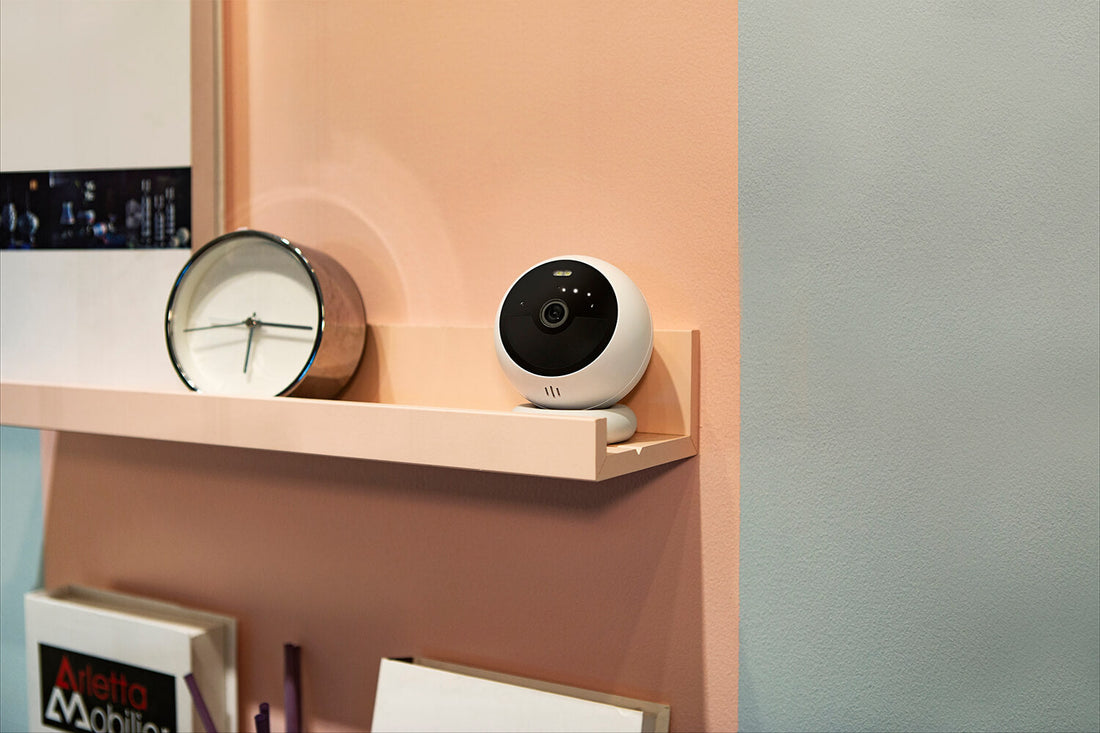
Then you could install your B200 indoor and outdoor security camera in your home (indoor or outdoor) according to your need.
Common reasons for setup failure
Failed to connect to the network:
1. Check if your Wi-Fi password is correct or not.
2. You could check whether the network is working, or whether the router's Wi-Fi is in the frequency band 12 or 13. If so, the device may not able to find your Wi-Fi to connect. Noorio B200 home security camera only supports router in frequency bands 1~11.
Failed to connect to the server:
In this case, you could check your network first. You could try to reset the router. If it still doesn't work, you need to check whether the device serial number is available.
Issue unsolved?
You could alway seek help from Noorio support team for any setup or install issues. We are dedicated to provide a easier, smarter, more secure home solution for you. You could submit a request or send a email to support@nooriolife.com. We also provide 1-year warranty with the free exchange.




5 komentarze(-y)
How do I connect my noorio when my network requires user name and password? And where can i find the macc address
Bravo, magnificent idea
Can you please send me the manual for the B200 . And a video link to learn more about the settings.
Thank you Paul
Where can I get a manual to learn how to operate this complicated security device??
How do I charge this.